
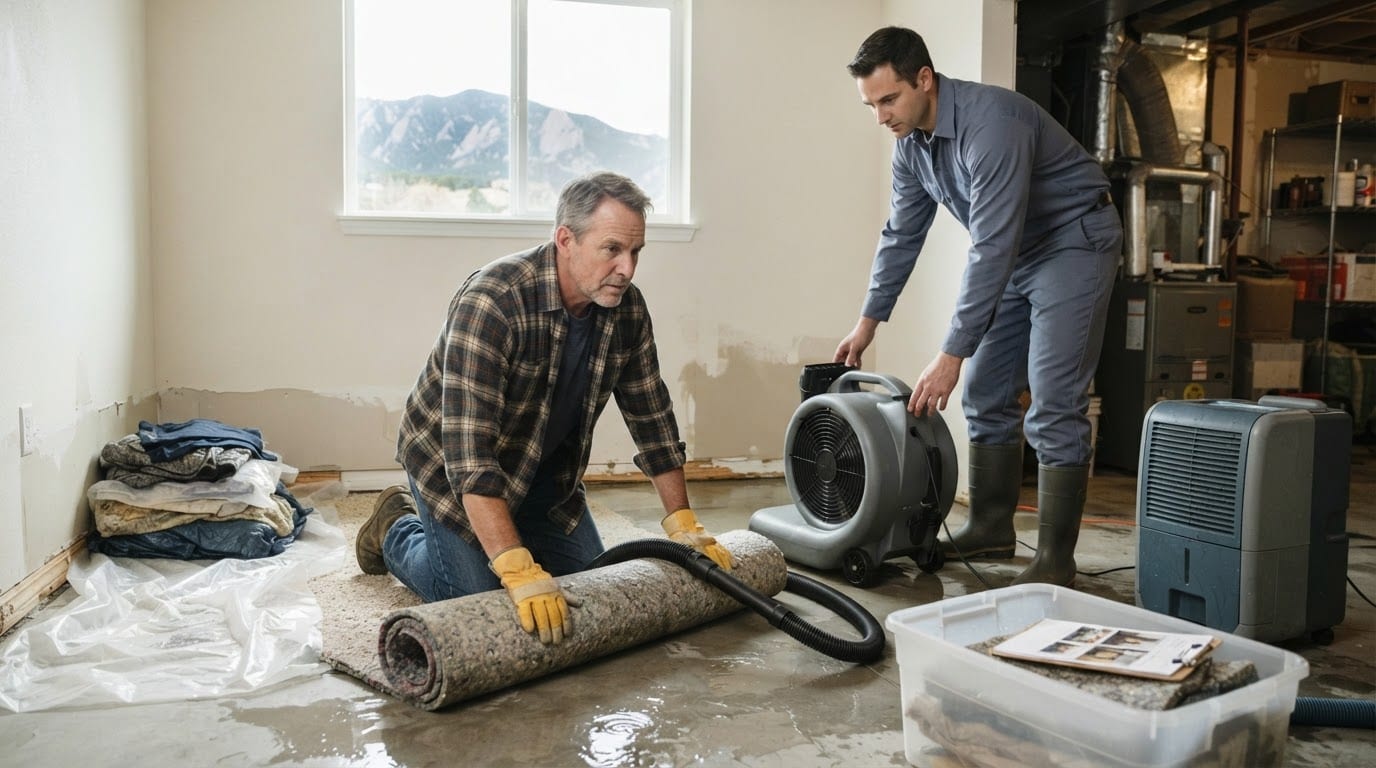
A water heater that fails overnight or a basement that fills after a spring storm rarely gives much warning. In the first hours, the decisions a household makes often matter more than the cleanup that follows, because water moves quickly through flooring, wall cavities, and subfloors while people are still working out where it came from.
Homeowners who search for Water Damage Emergency Denver are usually dealing with a problem that cannot wait for a scheduled appointment. Knowing how to limit the spread of water, what evidence to preserve, and when a professional needs to be called can shape the outcome of the repair, the insurance claim, and the health of everyone in the house.
Restoration crews, including those at Restoration Logistics Denver, typically begin with the same questions a homeowner should ask first: where the water originated, how long it has been present, and whether it has reached electrical circuits, framing, or insulation. Answering those questions accurately is the foundation for every step that follows.
Stop the Damage in the First Hour
The first priority is containment. Locate the main water shutoff, which in most Denver homes sits near where the service line enters the house, often in a basement, crawlspace, or utility closet. Turning the handle or lever clockwise to the closed position stops supply to the entire structure. Older homes may have a gate valve that takes many turns to close, and some of these can seize, so avoid forcing a valve that resists movement.
Once the main is closed, isolate the failed component. Fixture shutoffs under sinks and at toilets can stop a leak without affecting the rest of the plumbing. For appliances such as washing machines, dishwashers, and water heaters, close the dedicated supply valve or the water heater’s cold-inlet valve. Drain a water heater only if the tank is not leaking from the top and you have a hose routed to a floor drain.
Electrical safety takes priority over everything else. If water is standing near outlets, switches, a panel, or wiring, do not wade in to reach the breaker. Stay out of the water, avoid touching metal fixtures, and call an electrician or Xcel Energy, the primary electric utility serving much of the Denver metro area, to disconnect power at the meter. Once the area is dry, the homeowner can switch off affected circuits from a dry location. This step limits how far water travels and reduces the risk of electric shock. It is not a repair, and the damage assessment comes later.
Why Denver Homes Face Their Own Water Risks
Denver’s climate and geology create failure points that differ from those in many other cities. Freeze-thaw cycles are among the most consequential. Water that enters small cracks in supply lines, hose bibs, or exterior walls expands when it freezes, and the resulting stress often shows up as a split pipe only after temperatures rise. Exterior walls and foundation corners can also develop cracks when moisture repeatedly cycles through freezing and thawing.
Spring snowmelt and intense summer storms present a different problem. When saturated ground meets grading that slopes toward the foundation, or when gutters and downspouts discharge too close to the house, water is pushed against basement walls. Heavy rainfall can overwhelm storm drains and sump systems, particularly in neighborhoods where landscaping has changed the way water flows. Hail along the Front Range also compromises roofing materials, shingles, and flashing, and a roof breach can allow water into attic insulation and ceilings long before staining is visible.
Many established neighborhoods contain housing stock built decades ago. Galvanized steel supply lines corrode from the inside, reducing flow and eventually producing pinhole leaks. Cast iron drain lines can crack or separate at joints, especially when tree roots have infiltrated them. Basements in older homes often have a documented history of seepage, and repairs that addressed only the visible symptom may not have changed the underlying drainage conditions.
Expansive clay soils add a slower-moving risk. Parts of the Denver area sit on clay-rich soils that swell when wet and shrink when dry. This movement can shift foundations, open gaps around basement walls, and create pathways for water. Because the soil changes gradually, homeowners often see water problems return after the same spot has been repaired. Recurring seepage is frequently a sign that the moisture source has not been addressed.
Sorting the Water: Source Determines Urgency
Water is classified by contamination level, and the category affects what can be salvaged, what protective equipment is needed, and how quickly conditions worsen. The IICRC S500 Standard and Reference Guide for Professional Water Damage Restoration, widely used across the restoration industry, divides water into three categories.
Category 1 water comes from a clean source, such as a supply-line break or an overflowing sink that has not picked up contaminants. Category 2 water, often called gray water, comes from sources such as dishwasher or washing machine discharge, or from a toilet overflow that contains urine but not feces. Category 3 water, or black water, comes from sewage backups, rising floodwater, or outdoor surface water that has mixed with contaminants.
Describing the source accurately matters when reporting the loss. A homeowner who tells an insurer or contractor that water came from a supply line gives a different picture than one who says a sewer line backed up into a basement. The distinction affects both the scope of the work and the health precautions required.
What Changes Between Categories
Category 1 losses offer the most options. Flooring, drywall, and furnishings may still be salvageable if extraction and drying begin quickly, usually within the first day or two. Carpet pad that has absorbed clean water is often replaced, while hardwood or solid-surface materials may be dried in place if moisture readings allow.
Category 2 and 3 losses change the calculation. Porous materials such as carpet, pad, drywall, insulation, and some subflooring frequently need removal because contaminants can penetrate them and are difficult to remove completely. Workers handling these materials should use appropriate personal protective equipment, and OSHA’s respiratory protection standard at 29 CFR 1910.134 applies when airborne exposure is a concern. Homeowners should avoid direct contact with black water and keep children and pets out of affected areas.
Cost varies widely. Emergency water mitigation for a single contained Category 1 room often falls in the range of roughly $1,000 to $3,000, while losses involving full basements, subfloor replacement, or contaminated water can reach $10,000 or more. Regional labor rates, square footage, and the extent of material removal all influence the final figure.
Documenting Damage for Insurance Claims
Documentation should begin before cleanup starts. Photograph the scene in stages: wide shots that show the room and its relationship to the rest of the house, then closer images of the water source, such as a burst fitting or a cracked drain. Capture damaged materials, moisture-affected walls and floors, and any ceiling staining. Record personal property with photographs and, where possible, receipts or serial numbers. Video walkthroughs with a time-stamped narration can also be useful.
Retaining damaged materials until an adjuster or inspector has reviewed them is often a sound practice. Discarding everything early can make it harder to demonstrate the extent and cause of the loss. That said, safety and mold prevention may require prompt removal of certain materials. When that happens, document the materials thoroughly before they leave the property and keep a sample or photographs of any hazardous components where feasible.
Collect the following paperwork and keep it in one place:
- The policy declarations page, which summarizes coverage limits, deductibles, and endorsements
- Receipts for emergency measures such as pumping, dehumidifier rental, and temporary repairs
- A written timeline of events, noting when the water was discovered, when the source was stopped, and who was contacted
- Plumber, electrician, or restoration reports, along with any moisture readings taken
- Communication records with the insurer, including claim numbers and adjuster contact information
Homeowners should prepare this documentation carefully, but they should not assume a particular outcome. Coverage depends on the policy language, the cause of loss, and the terms of the claim. Reviewing those terms with the insurer or a qualified advisor is the appropriate next step.
The 24 to 72 Hour Window: Mold, Structure, and Drying
Mold is the consequence most homeowners fear, and the timeline is shorter than many expect. The EPA notes that mold can begin growing within roughly 24 to 48 hours in damp conditions, which is why drying speed matters as much as visible cleanup. Mold colonies that establish inside wall cavities or beneath flooring may not show up until well after the water is gone.
Visible wetness understates the real damage because water wicks into materials. Drywall can hold moisture several inches above the visible waterline, and water can travel along the face of studs and into insulation. Subflooring may look dry on top while remaining saturated underneath. This is why professionals rely on moisture meters, thermo-hygrometers, and psychrometric readings rather than visual checks alone.
Professional water mitigation generally follows a sequence described in the IICRC S500 framework:
- Extraction: Removing standing water with truck-mounted or portable extractors
- Drying: Opening cavities, removing wet materials where required, and placing air movers to increase evaporation
- Dehumidification: Using low-grain-refrigerant or desiccant units to lower the moisture content of the air, typically tracked as grains per pound
- Monitoring: Taking daily readings to confirm that materials and air are approaching normal levels before equipment is removed
Homeowners should expect this work to be assessed by a qualified technician rather than handled entirely as a do-it-yourself project once water has reached structural materials or once the loss involves Category 2 or 3 water. Technicians holding the IICRC Water Damage Restoration Technician (WRT) certification are trained to set equipment and document readings in a way that supports both drying and claim review.
Several warning signs call for prompt professional assessment:
- A persistent musty odor, even after visible surfaces appear dry
- Warped or cupped flooring, or baseboards that pull away from the wall
- Discoloration, bubbling paint, or soft drywall that reappears after cleanup
- Moisture readings that do not drop over several days despite fans and dehumidifiers running
- Visible mold growth, which may require remediation guided by EPA and local health guidance rather than surface cleaning alone
The first days after water intrusion are short, and the choices made within them shape what can be saved, what must be removed, and how cleanly the home returns to normal. Stopping the flow, documenting the loss, and getting moisture under control quickly give a Denver household the best chance of limiting the damage.